Bios (Basic input output system) sounds like something basic program or software of PC. And yes, as the name suggests, it’s basically a firmware/ software for your motherboard, through this your motherboard functions.
But in several times, you might need to update bios for motherboard. And this process can be a little tricky for a non-techy person. So, in this article I am going to give easy step-to-step for how to update your bios for motherboard.
Why should you update your PC bios?
Okay, the motherboard already comes with a bios installed on it and for any normal usage you don’t have update your bios periodically.
But there are two major scenarios when you have to update your PC bios
Upgrade- In hardware upgrade if you are upgrading your components like processor, Ram, or graphics card. Which your motherboard doesn’t support, in that case a bios update of latest version can solve your problem.
Bugs/stability– this option has fewer chances but if your motherboard has some serious bugs or boot stability problems. Then you need to update your bios to the latest stable version which more stable.
Caution
Before talking about how to update your bios for motherboard. We need to talk about its risk-factor and the consequences of anything goes wrong during the process. So, It’s always recommended to not update your bios if your PC is working fine or unless you are upgrading your hardware.
what will happen if bios updating goes wrong!
Yes, There are some consequences if your bios update process goes wrong. like, if power goes out during the bios update or you flashed the wrong bios mistakenly. All that mistakes can brick (dead) your motherboard forever.
Using ups is a good idea!
It’s always recommended using ups (uninterrupted power supply) during the bios update. so that if the power goes out in mid update, your computer can continue to run and complete the update.
Also read : best pc budget pc build in 2021
Steps to update your bios for motherboard
Okay, no you are aware of the risk-factor of updating bios, let’s talk about updating your bios for motherboard. In this step we are taking examples of ASUS motherboard but all brands like zebronics, gigabyte, and hp etc. have the same process for updating bios for motherboard.
There are two ways to update your bios
1. Through windows (operating system)
2. Through boot process (requires a pen drive)
We’re going to talk about both processes in this article
1.Through windows operating system
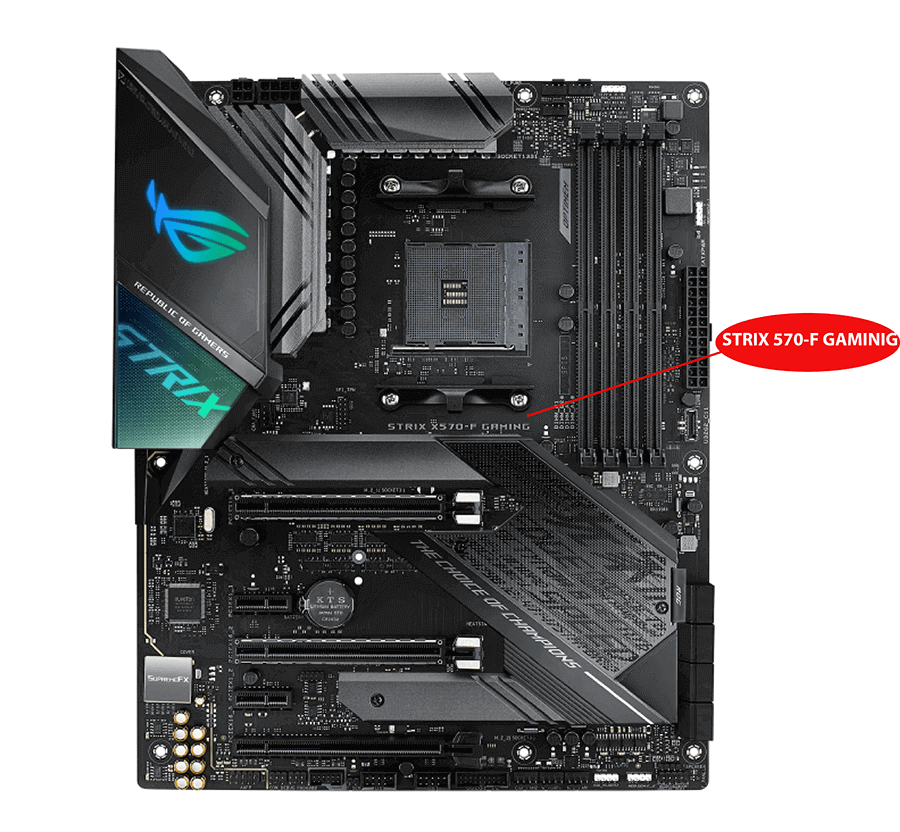
1.First, identify your motherboard manufacturer and model number (you can find this on your manual or on the motherboard.)
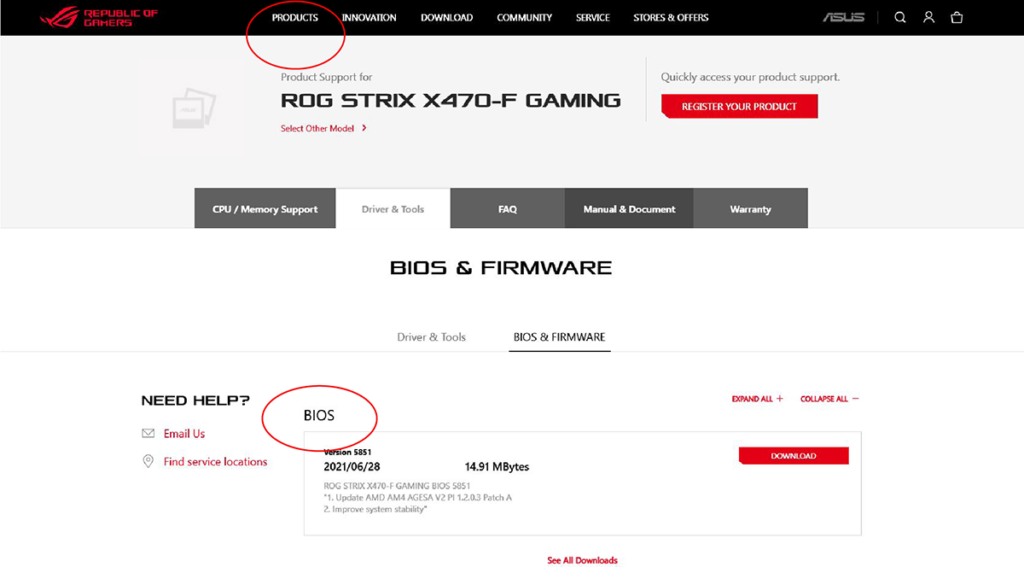
2.Search your motherboard name & Download bios from the official motherboard site. (you can find bios in the product or support page.)
3. Run your official motherboard utility.
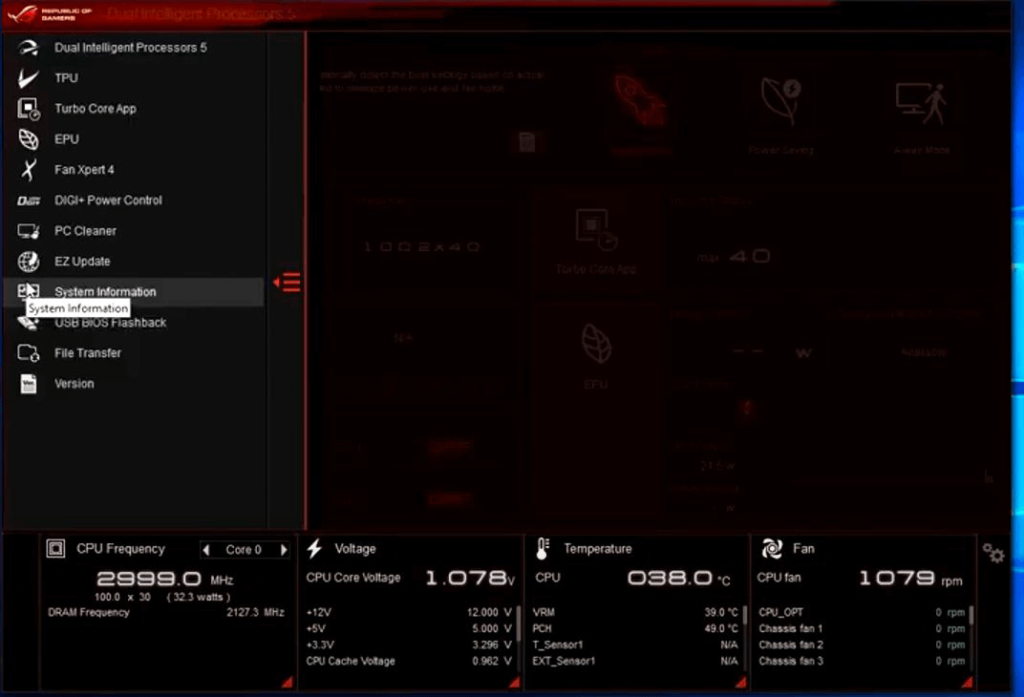
4.Search for option of bios update in motherboard utility.
5. select and extract bios files and hit install.
(your computer will restart with updated bios)
Through boot process(need a pendrive)
(The first two steps are the same as the step 1 in bios update.)
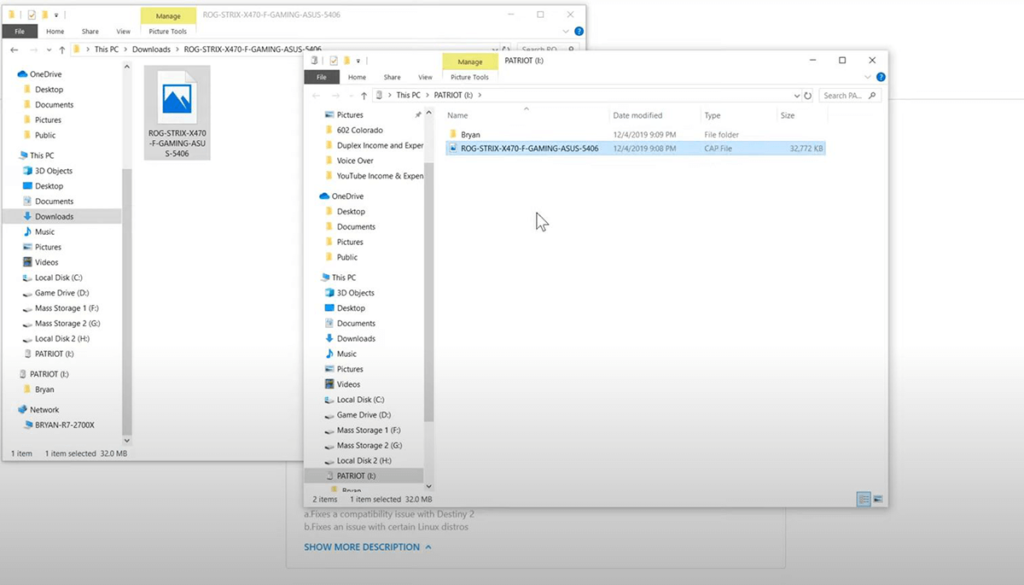
1. Copy the bios file to your pen drive (copy on main directory folder of the pendrive for convenience)
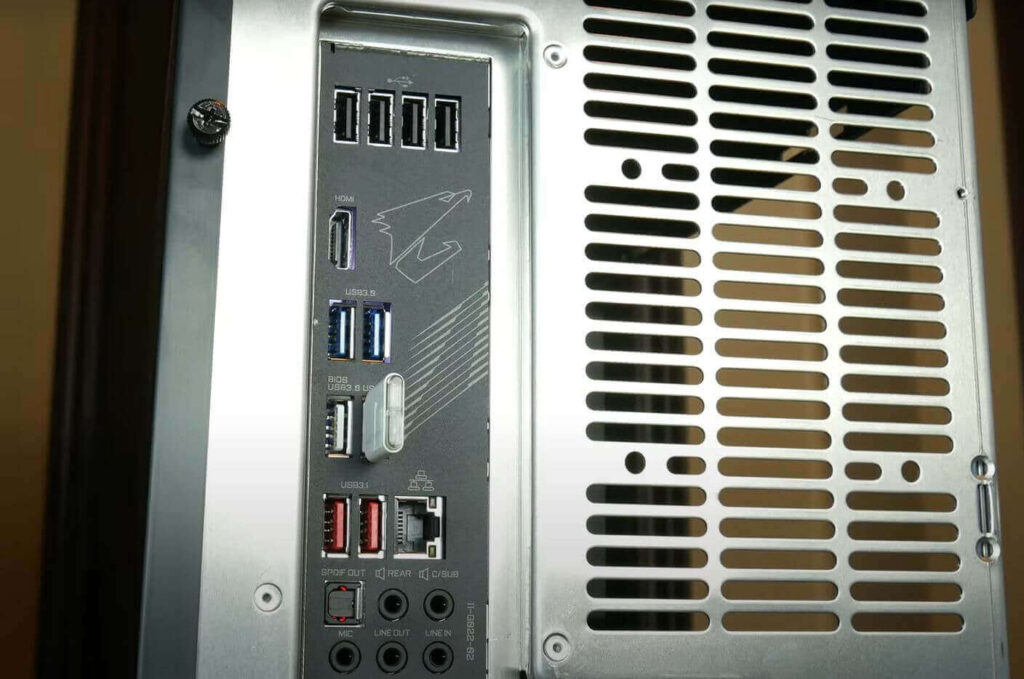
2. Plug the pendrive in the direct connected port to the motherboard and reboot your computer.
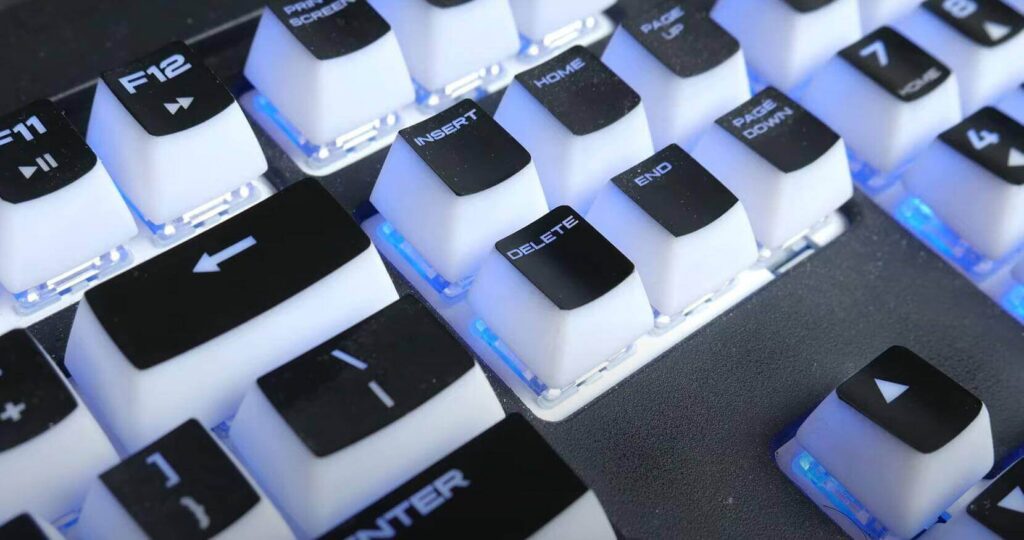
3. To get into bios press delete key rapidly on the keyboard. (some keys might be different according to motherboard manufacturers) see here
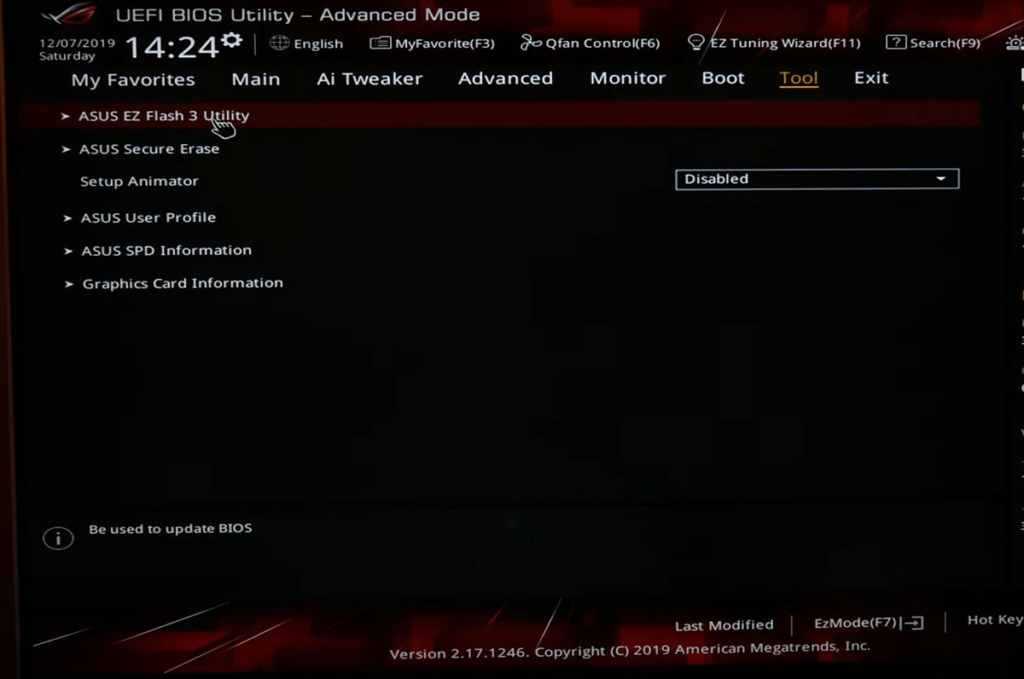
4. Once you are in bios find the update utility (you can find this on tools or advanced menus)
5. Select the storage option of pendrive & find the bios files and select it.
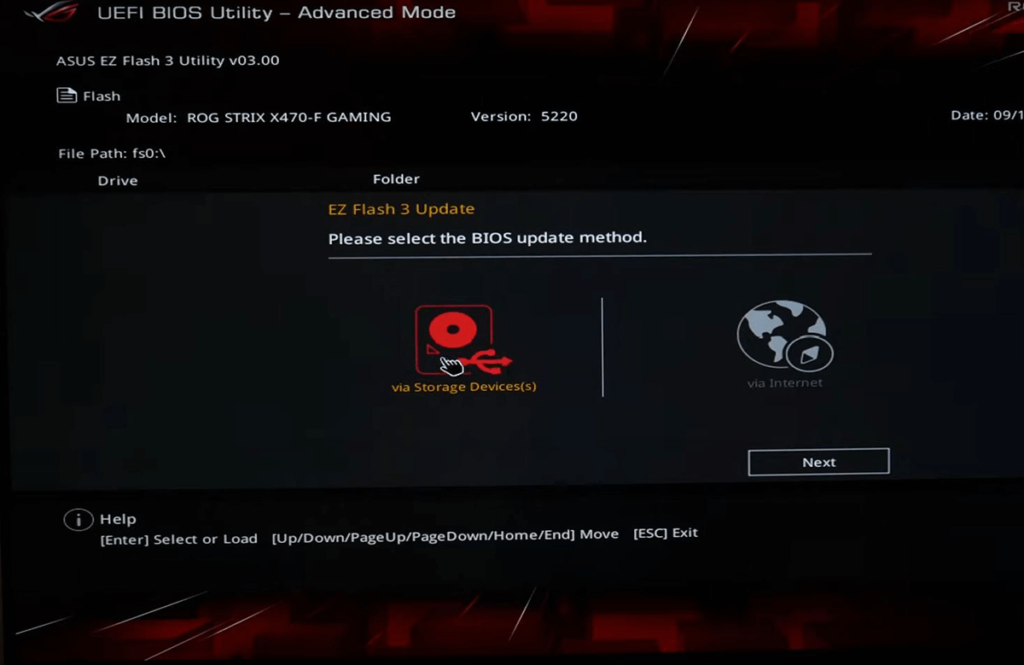
6. Hit install.
(the update process is going to several minutes to do and once it’s done your computer going to restart)
Different keys for open bios screen
ASRock: F2 or DEL
ASUS: F2 for all PCs, F2 or DEL for motherboards
Zotac: DEL
Gigabyte / Aorus: F2 or DEL
HP: F10
Lenovo (Consumer Laptops): F2 or Fn + F2
Lenovo (Desktops): F1
MSI: DEL for motherboards and PCs
Acer: F2 or DEL
Dell: F2 or F12
Restoring bios settings after bios update
After successful bios update your computer will boot in to the bios menu and Since you have just updated your bios all of your settings will have been reset to default. So, restore your settings manually like xmp profiles for your ram and select boot from correct storage device.
Once you have done all the settings save changes and your computer will restart one last time and boot back to windows as normal.